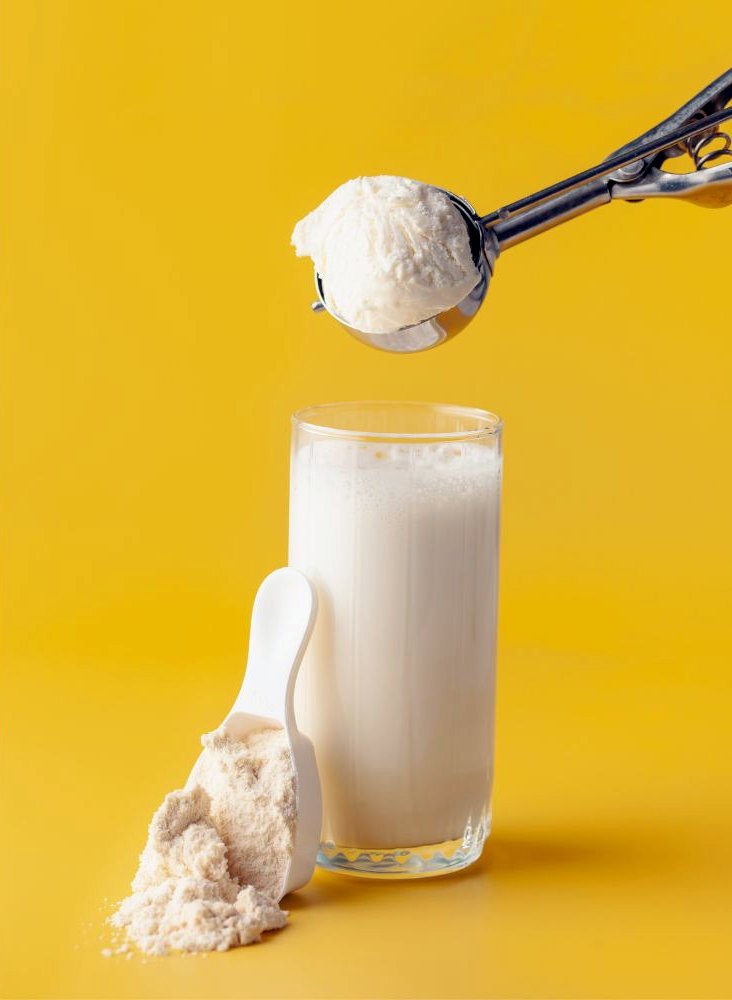
If you’re looking for a delicious and nutritious way to satisfy your sweet tooth, freezing protein shakes to create ice cream is a fantastic option. This method allows you to enjoy a cool treat while boosting your protein intake. Here’s a detailed guide on how to turn your protein shakes into a delightful ice cream alternative, along with how this type of ice cream differs from conventional varieties.
Why Freeze Protein Shakes?
Freezing protein shakes transforms them into a creamy dessert while retaining their nutritional benefits. Whether you’re post-workout or just craving something sweet, protein ice cream offers a healthier option compared to traditional ice cream.
How Protein Ice Cream Differs from Conventional Ice Cream
1. Nutritional Content
- Higher Protein: Protein ice cream is packed with protein, making it great for muscle recovery and satiety. Conventional ice cream typically contains less protein and more sugar.
- Lower Sugar: Many protein ice creams use natural sweeteners or rely on the sweetness of added fruits, resulting in lower sugar content.
2. Texture and Ingredients
- Creaminess: While conventional ice cream relies heavily on cream and sugar, protein ice cream uses protein powders, milk, and other creamy ingredients. This can result in a lighter mouthfeel.
- Fewer Artificial Ingredients: Protein ice creams are often made with whole food ingredients, while conventional varieties may contain artificial flavors and preservatives.
How to Make Protein Ice Cream
Ingredients
- Protein Base: Choose from:
- Whey Protein: Smooth texture, quick absorption.
- Casein Protein: Thicker and denser.
- Plant-Based Proteins: Pea, hemp, or brown rice.
- Egg White Protein: Light and fluffy.
- Liquid: Mix with:
- Milk or Almond Milk: Adds creaminess.
- Coconut Water: Lightens the flavor.
- Yogurt: Increases creaminess and protein.
- Flavor Enhancers:
- Frozen Bananas: Natural sweetness.
- Nut Butters: For added flavor.
- Cocoa Powder: For a chocolate twist.
Instructions
- Blend Ingredients: Mix your protein base, liquid, and flavor enhancers until smooth.
- Transfer to Container: Pour the mixture into an airtight container, leaving some space at the top for expansion.
- Freeze: Place in the freezer for about 4-6 hours until firm.
- Serve and Enjoy: Let sit for a few minutes to soften before scooping.
Tips for the Best Protein Ice Cream
- Texture Matters: To enhance texture, consider adding creamy ingredients like Greek yogurt or avocado.
- Adjust Sweetness: For a sweeter treat, add natural sweeteners like honey or maple syrup.
- Experiment with Flavors: Try different combinations of fruits, extracts (like vanilla), or mix in dark chocolate chips or nuts.
Conclusion
Freezing protein shakes to make ice cream is a simple, fun, and healthy way to indulge your sweet tooth. With higher protein and lower sugar compared to traditional ice cream, this alternative helps you enjoy a guilt-free treat. With the right protein base, liquid, and a few additional ingredients, you can whip up a delicious protein-packed dessert. So, the next time you blend up a protein shake, consider freezing some for a refreshing ice cream alternative. Enjoy your healthy indulgence!

